Azure, Azure, and more Azure - Service Bus | Basic Workflow and Links
Azure Service Bus
Self-study links
Choose a messaging model in Azure to loosely connect your services (~45 min)
Implement message-based communication workflows with Azure Service Bus (~54 min)
Enable reliable messaging for Big Data applications using Azure Event Hubs (~56 min)
React to state changes in your Azure services by using Event Grid (~33 min)
Azure Service Bus (~46 min)
Azure Event Grid (~38 min)
Azure Functions reliable event processing (~6 min)
Monitor GitHub events by using a webhook with Azure Functions (~53 min)
Notes:
Service Bus topics and queues
Azure Service Bus can exchange messages in two different ways: queues and topics.
What is a queue? A Service Bus queue is a simple temporary storage location for messages. A sending component adds a message to the queue. A destination component picks up the message at the front of the queue. Under ordinary circumstances, each message is received by only one receiver.

What is a topic? A Service Bus topic is similar to a queue, but a topic can have multiple subscriptions. This means that multiple destination components can subscribe to a specific topic, so each message is delivered to multiple receivers. Subscriptions can also filter the messages in the topic to receive only messages that are relevant. Subscriptions provide the same decoupled communications as queues and respond to high demand in the same way. Use a topic if you want each message to be delivered to more than one destination component.

Workflow
The idea of the exercise is to update the eShopOnWeb web app, add a connection with the Azure Service Bus instance and send messages to it when a new order is created. Then, we will create an Azure Function with the trigger of the Azure Service Bus instance and create a file in the Azure Blob Storage.
For our example, i’m going to use the following repo https://github.com/dotnet-architecture/eShopOnWeb and deploy the Web page using Azure Web App.
But First, let’s create the Azure Service Bus instance.
You can create a Service Bus instance using the Azure CLI:
az servicebus namespace create \
    --resource-group [sandbox resource group name] \
    --name <your-unique-service-bus-name> \
    --location eastus --sku Basic
Then, create a queue:
az servicebus queue create \
    --resource-group [sandbox resource group name] \
    --namespace-name <your-unique-service-bus-name> \
    --name <your-unique-queue-name>

Let’s do a code change. Open your WebAPI project and add the following NuGet packages:
dotnet add package Microsoft.Azure.ServiceBus
dotnet restore
Then, open the OrderService.cs file and add the following code:
public class OrderService : IOrderService
{
    // Other Methods


    private async Task SendMessageToWarehouse(Order order)
    {
        // Add Azure Service Bus
        var serviceBusConnectionString = _configuration["eshop-servicebus"];
        var queue = "orders-queue";
        var client = new ServiceBusClient(serviceBusConnectionString);

        var sender = client.CreateSender(queue);

        //Array order details (item Id, quantity) as a JSON string
        var data = this._orderItems.Select(x => new
        {
            x.Id,
            Quantity = x.Units
        });
        var orderSerialized = Newtonsoft.Json.JsonConvert.SerializeObject(data);
        var message = new ServiceBusMessage(orderSerialized);

        await sender.SendMessageAsync(message);
    }

}
Now, I am going to save the secret in the Key Vault. You can create a secret using the Azure CLI:
az keyvault secret set \
    --name eshop-servicebus \
    --value "Endpoint=sb://<your-unique-service-bus-name>.servicebus.windows.net/;SharedAccessKeyName=RootManageSharedAccessKey;SharedAccessKey=<your-unique-service-bus-key>" \
    --vault-name <your-unique-keyvault-name>
Now, we need to add the Service Bus connection string to the app settings. Open the appsettings.json file and add the following code:
{
  "ServiceBus": {
    "ConnectionString": "Endpoint=sb://<your-unique-service-bus-name>.servicebus.windows.net/;SharedAccessKeyName=RootManageSharedAccessKey;SharedAccessKey=<your-unique-service-bus-key>"
  }
}
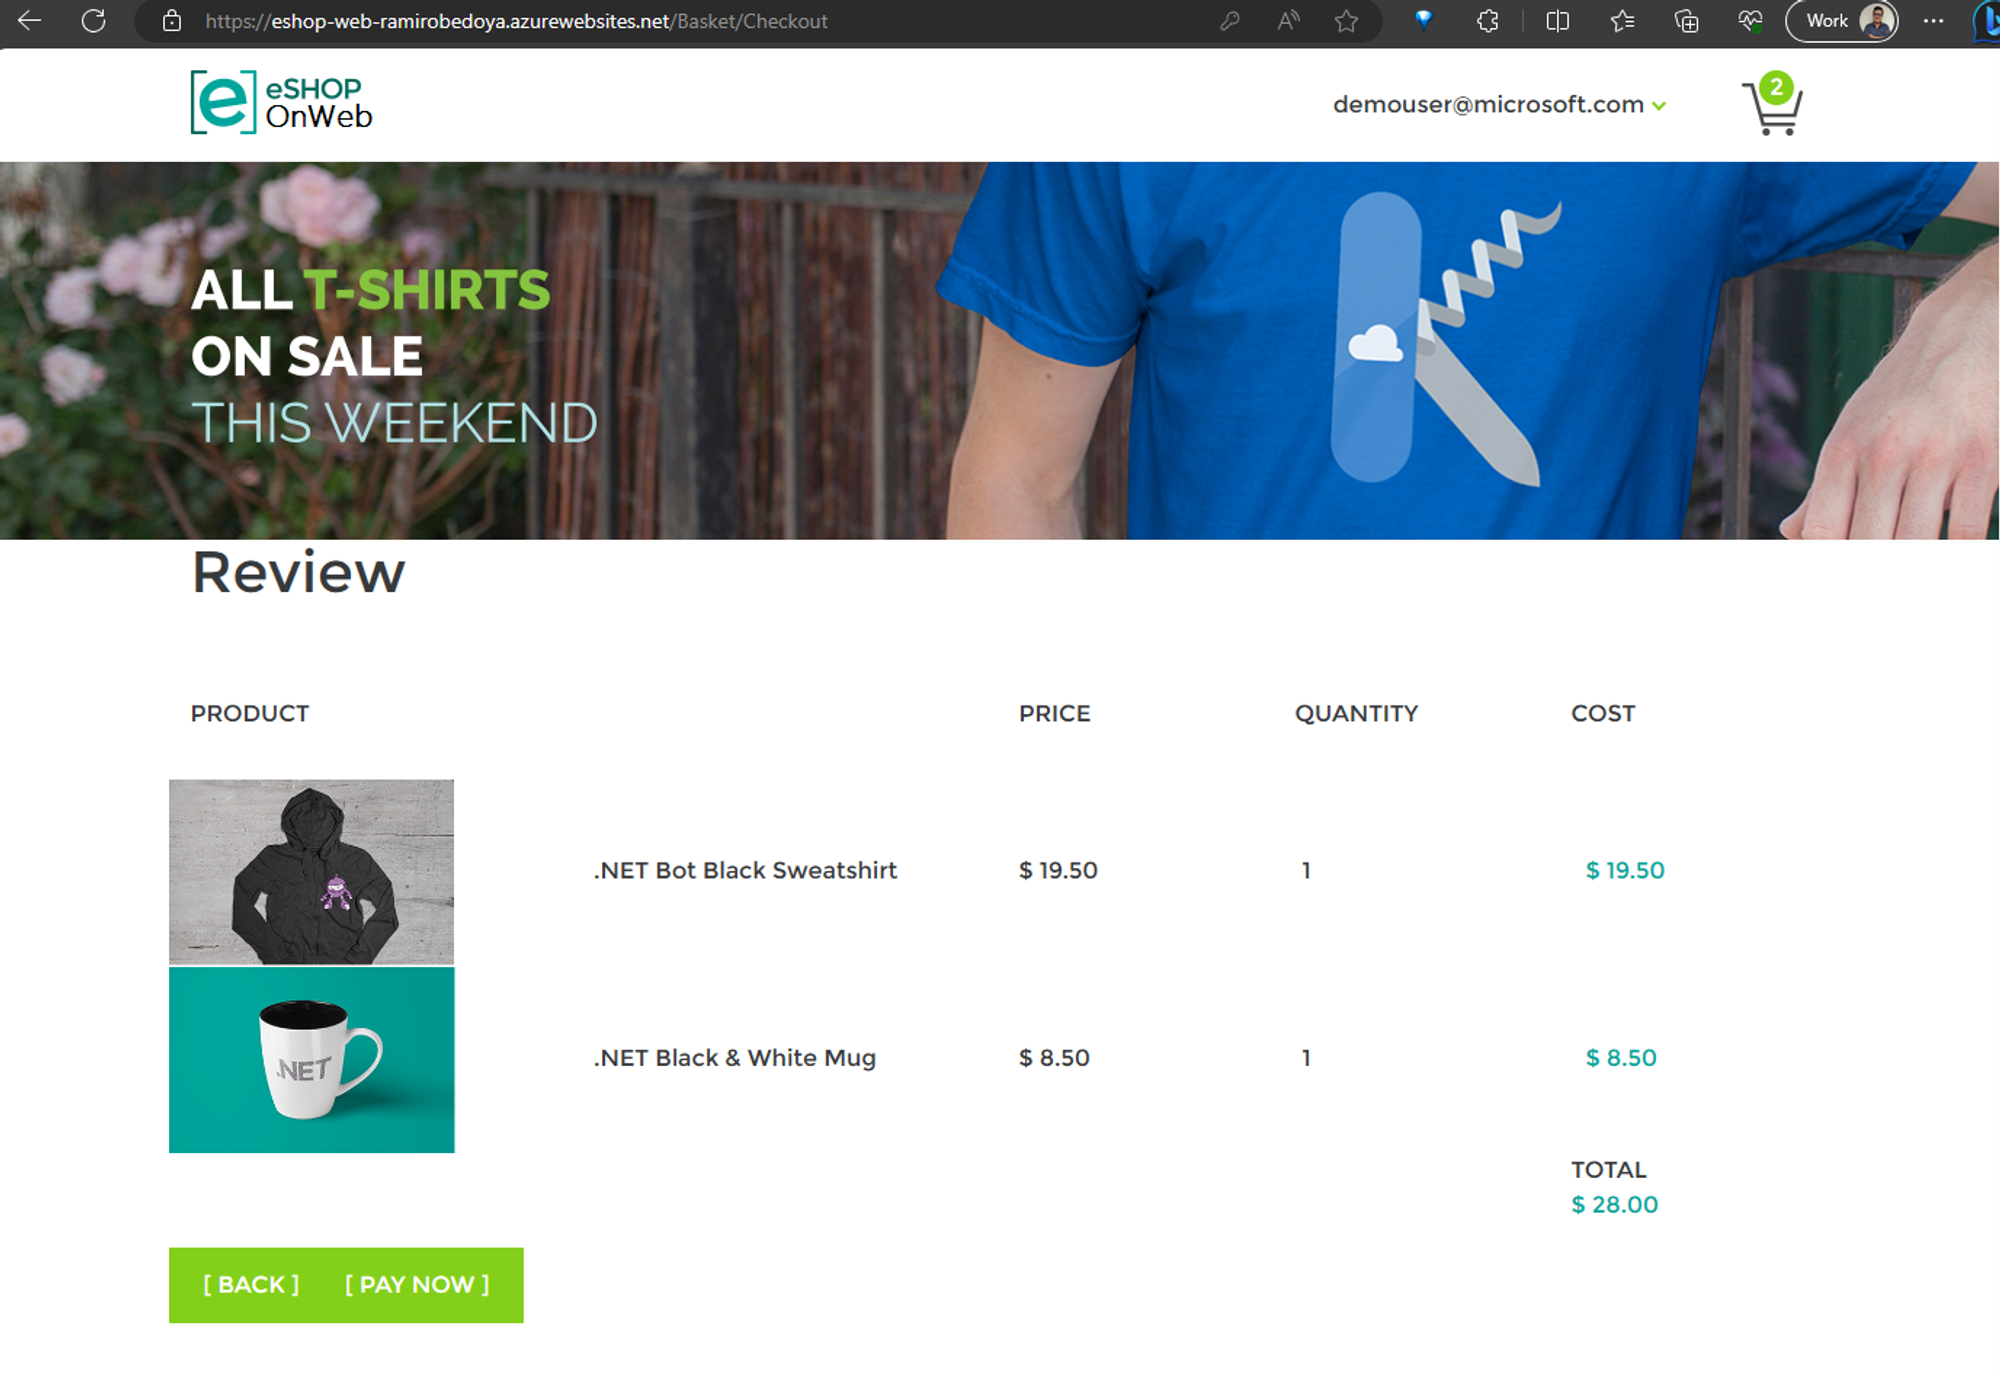
Let’s test locally. To do that, after we run the eShopOnWeb web application, create a new order, you will see the order message at Azure Service bus queue.
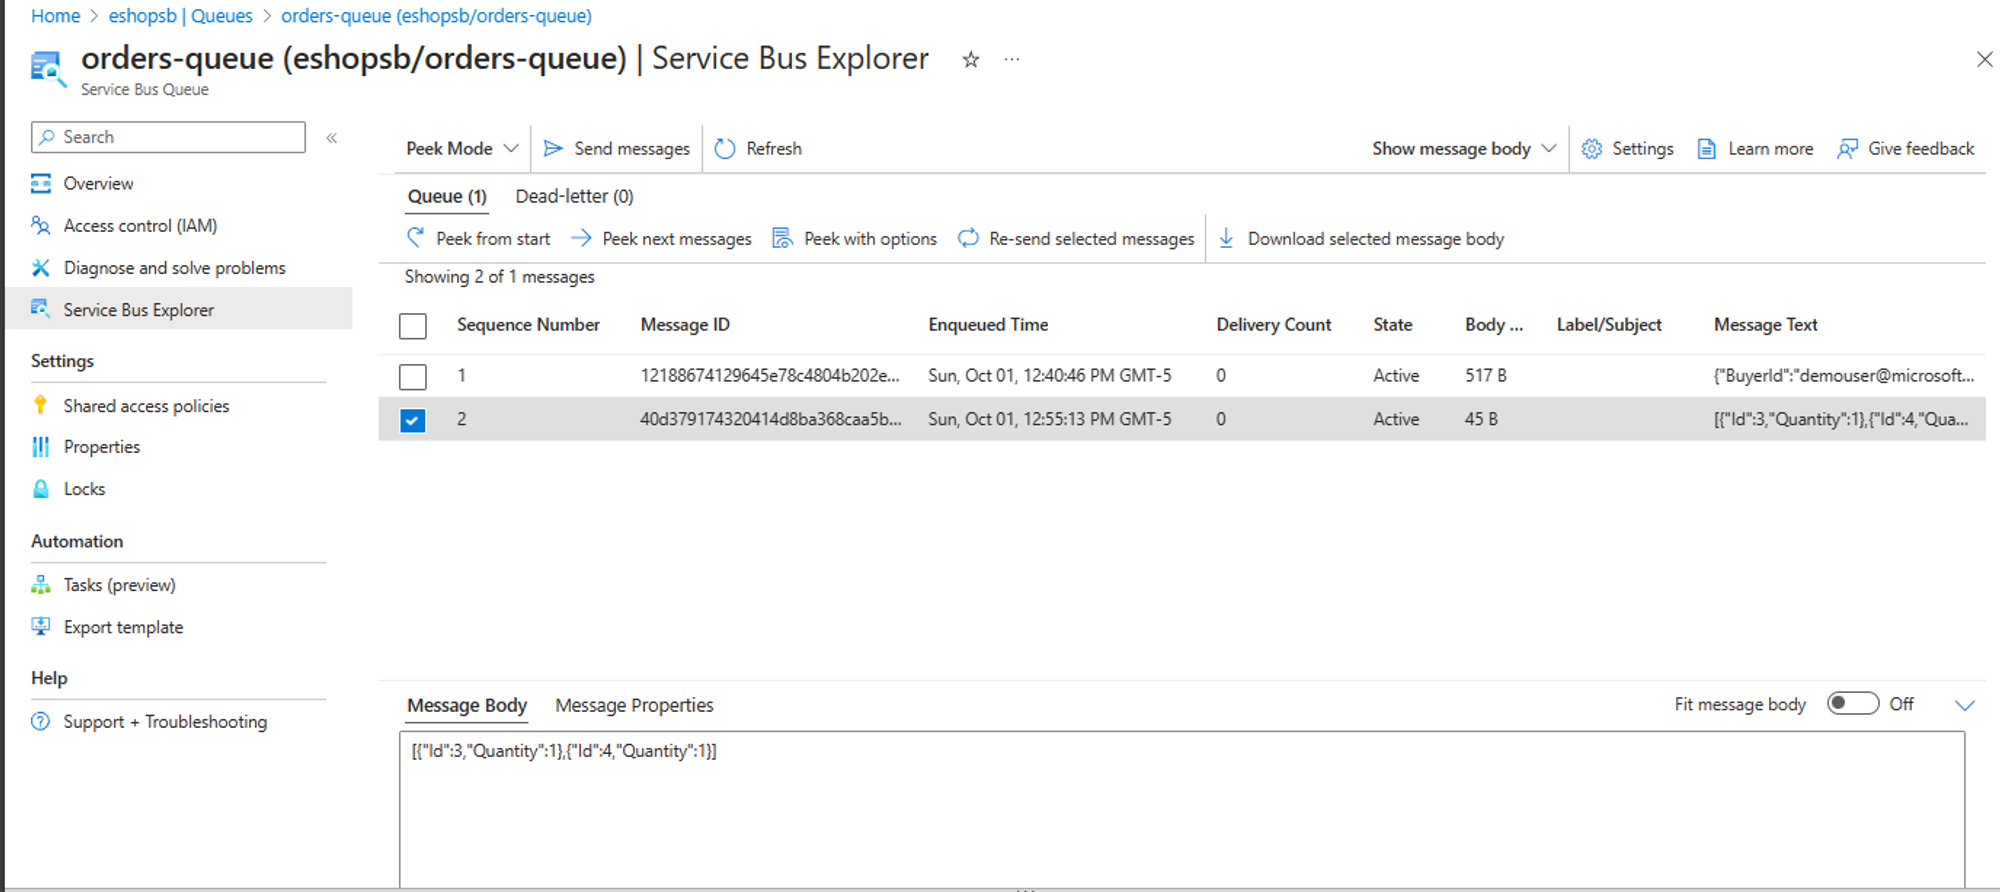
Now, let’s create the Azure Function using Visual Studio. This function is going to get the queue item and convert it into a txt file. Then, let’s upload the file into a Azure Blob Storage.
//OrderItemsReserverBus.cs
using System;
using Azure.Storage.Blobs;
using System.IO;
using Microsoft.Azure.WebJobs;
using Microsoft.Extensions.Logging;
using Newtonsoft.Json;

namespace eshop_functions
{
    public class OrderItemsReserverBus
    {
        [FunctionName("OrderItemsReserverBus")]
        public void Run([ServiceBusTrigger("orders-queue", Connection = "ServiceBusConnectionString")]string myQueueItem, ILogger log)
        {
            log.LogInformation($"C# ServiceBus queue trigger function processed message: {myQueueItem}");

            string Connection = Environment.GetEnvironmentVariable("AzureWebJobsStorage");
            string containerName = Environment.GetEnvironmentVariable("ContainerName");
            string fileName = $"{Guid.NewGuid()}.txt";
            string fileContent = JsonConvert.SerializeObject(myQueueItem);
            Stream myBlob = new MemoryStream();

            // Write the data to the outputBlob stream
            StreamWriter streamWriter = new StreamWriter(myBlob);
            streamWriter.Write(fileContent);
            streamWriter.Flush();
            myBlob.Position = 0;

            BlobContainerClient container = new BlobContainerClient(Connection, containerName);
            container.CreateIfNotExists();
            BlobClient blob = container.GetBlobClient(fileName);
            blob.Upload(myBlob);
        }
    }
}

//local.settings.json
{
    "IsEncrypted": false,
    "Values": {
        "AzureWebJobsStorage": "DefaultEndpointsProtocol=https;AccountName=eshopstoragefunc;AccountKey=<your-webstorage-id>;EndpointSuffix=core.windows.net",
        "ContainerName": "file-upload", // Container name
        "FUNCTIONS_WORKER_RUNTIME": "dotnet",
        "ServiceBusConnectionString": "Endpoint=sb://<your-unique-service-bus-name>.servicebus.windows.net/;SharedAccessKeyName=RootManageSharedAccessKey;SharedAccessKey=<your-unique-service-bus-key>"
    }
}
Now, let’s deploy the the Web App and the Azure Function. But before testing, we need to connect the webapp with the keyvault created.
So, you need to enable the managed identity. It can be easily done using the Azure CLI:
az webapp identity assign \
    --resource-group [sandbox resource group name] \
    --name <your-unique-app-name>
After creating it, get the principalId and with it, grant access to our keyvault:
az keyvault set-policy \
    --name <your-unique-keyvault-name> \
    --object-id <your-app-principal-id> \
    --secret-permissions get list
Now, you can test the app again and it should work.
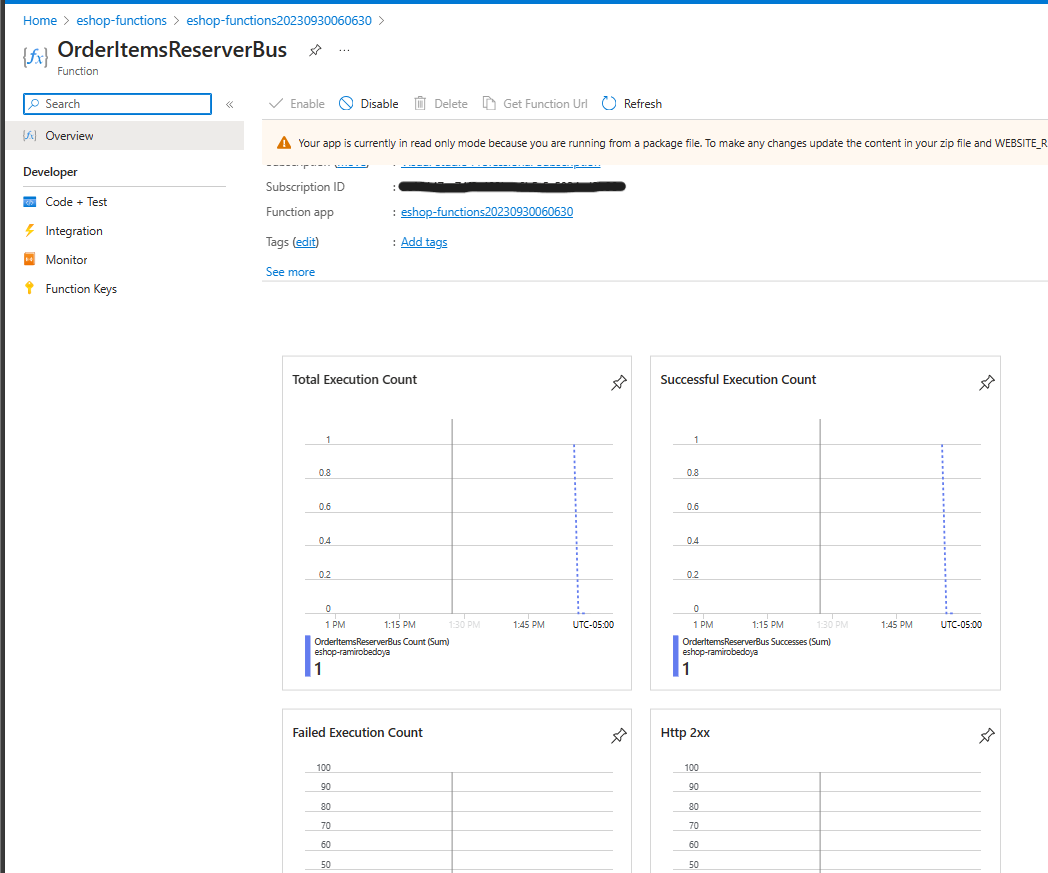
Now, let’s check the Azure Function, and see if there is any execution.
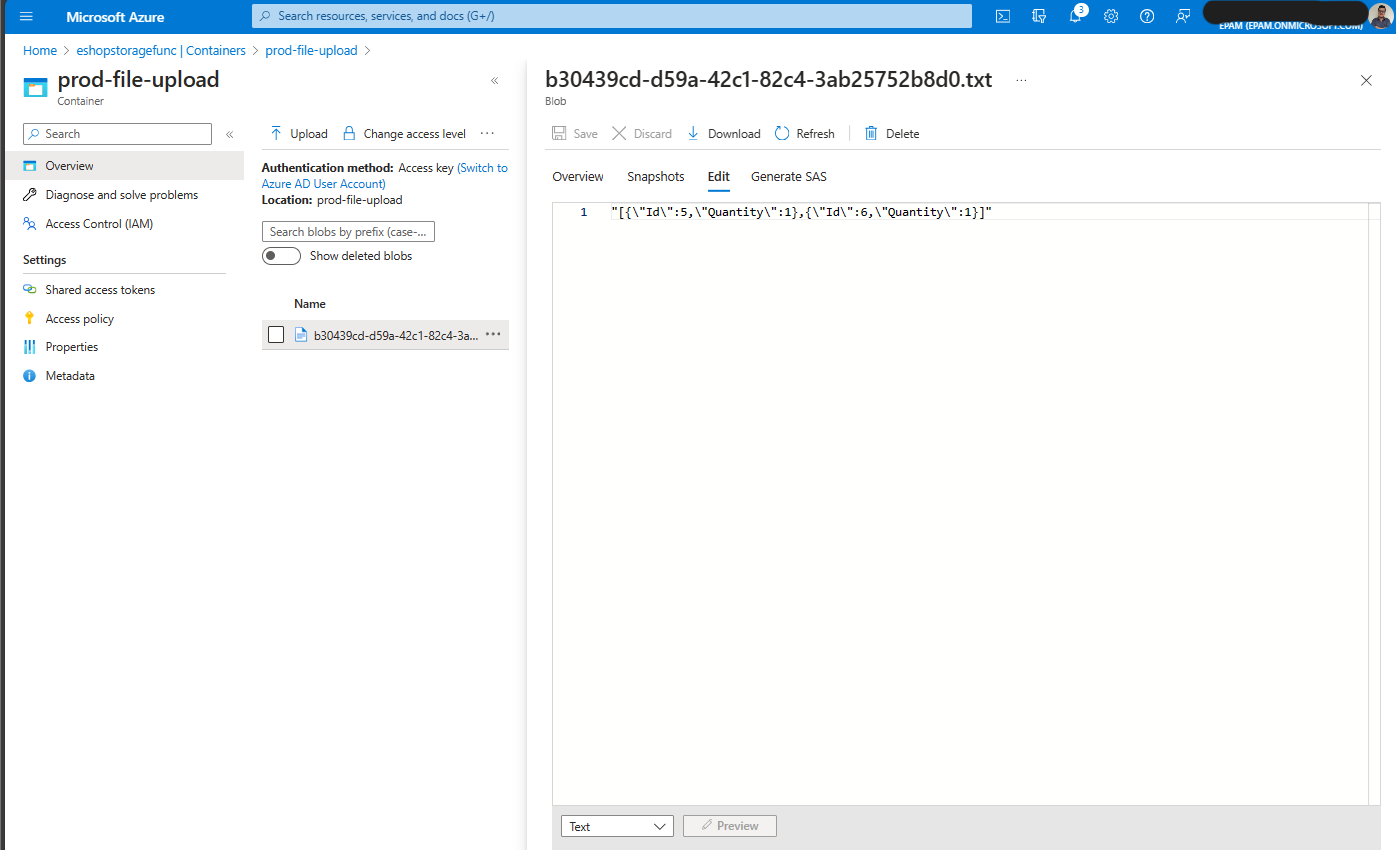
Let’s check if the file has been uploaded into the Azure Blob Storage
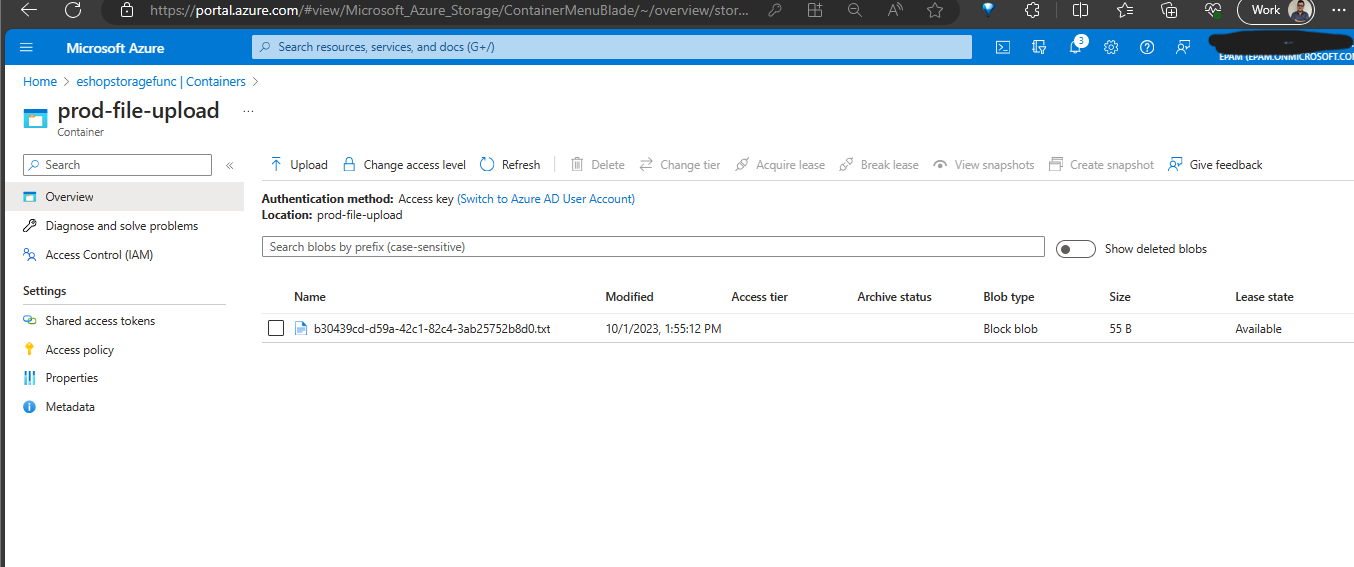
And let’s open the file.
